The first budget build I ever did, I bought the cheapest case I could find and a power supply that came bundled with it. Two months later, that power supply died and took the motherboard with it. The lesson cost me more than the money I thought I'd saved. Building a cheap gaming PC isn't about finding the lowest price on every single part — it's about knowing which corners you can cut and which ones will bite you later. This guide walks you through how to build a budget gaming PC step by step, from picking parts to pressing the power button for the first time, with the mistakes I made along the way so you don't repeat them.
Key Takeaways
- Spend the largest share of your budget on the graphics card and CPU — those two decide how games actually run.
- Never cheap out on the power supply. A bad one can destroy every other component you bought.
- An entry level gaming computer setup needs only 16 GB of RAM and a 1 TB NVMe SSD to feel fast in 2026.
- Buy a motherboard with the right socket for your CPU and check the BIOS version before you commit.
- Build outside the case first — CPU, cooler, and RAM on the motherboard — before screwing anything down.
- Static, tight screws, and forgotten standoffs cause most first-build failures. Slow down and double-check.
Planning your budget and parts list
Most people start a budget build by opening a retailer and sorting by price. That's the wrong end of the process. Sort by price and you'll end up with a budget pc parts list that technically boots but runs games at settings you'll hate. Start with the resolution and frame rate you actually want, then work backward.
For 1080p gaming at high settings in 2026, the realistic split looks like this: roughly half your total budget goes to the GPU, a quarter to the CPU, and the rest to motherboard, RAM, storage, power supply, and case. If your total is tight, this ratio still holds — it just means smaller numbers on every line.
What resolution should a budget build target?
1080p. Not 1440p, not 4K. A budget machine chasing higher resolution will either stutter or force you to drop settings so low that the extra pixels don't matter. 1080p at a steady frame rate looks better than 1440p that hitches every few seconds. I've watched people spend their whole budget on a monitor and a card that can't feed it, and they end up playing on low anyway.
The parts that matter most
Here's the honest ranking of where your money should go:
- GPU — the single biggest factor in gaming performance. Buy the best one your budget allows, even if it means a cheaper case.
- CPU — matters, but a mid-range chip won't bottleneck a budget GPU. Don't overspend here.
- PSU — a quality unit from a known brand. Never the bundled one.
- RAM, storage, case — functional, not fancy. 16 GB and 1 TB is enough.
Which brings up an obvious problem: how do you know a motherboard will actually work with your CPU? Socket type is the first check, and it's the one beginners skip. If you're unsure how to read the spec sheet, this guide on choosing a gaming motherboard covers the socket and chipset basics without the jargon.
Buying affordable components for gaming
You can save real money without sacrificing performance if you know where the discounts hide. The trick is separating parts where a cheaper option is genuinely fine from parts where it's a trap.
Where a cheaper part is genuinely fine
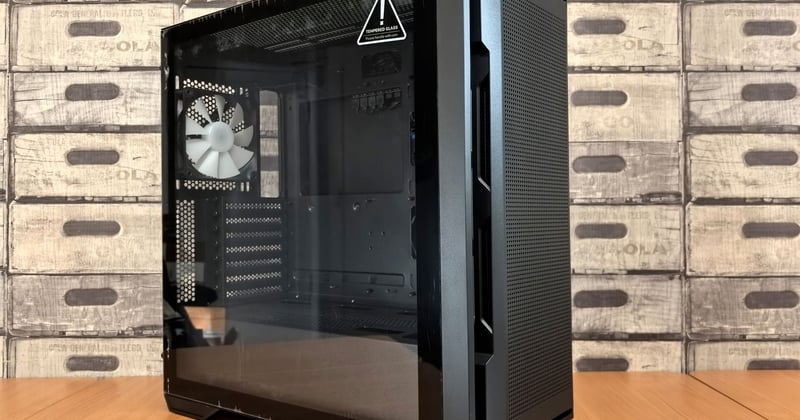
Cases, RAM, and storage are the safe places to trim. A budget case with decent airflow and two fans will cool a mid-range build perfectly well — you don't need tempered glass and RGB. RAM from a lesser-known brand with the right speed and capacity works identically to the expensive stuff. And a mid-tier NVMe SSD is fast enough that you won't notice the difference in games.
If you're weighing storage options and aren't sure whether to spend on an SSD or save with a hard drive, this comparison of SSD vs HDD lays out the trade-offs plainly. Short version: for a gaming build in 2026, an SSD is not optional.
Where cutting corners backfires
The power supply is the one part where cheap is dangerous. A no-name unit rated for a wattage it can't actually deliver will fail under load, and when it fails it can take the motherboard and GPU with it. Buy from a brand with a real reputation and a wattage rating you can trust.
Comparison table for a typical budget build:
| Component | Where to save | Where to spend |
|---|---|---|
| GPU | Last-gen model, still capable | Current mid-range card |
| CPU | Previous generation, same socket | Only if it bottlenecks the GPU |
| Motherboard | Micro-ATX, fewer features | Correct socket and BIOS support |
| PSU | — | Reputable brand, real wattage |
| Case | Basic airflow, no glass | Only if cooling is poor |
| Storage | Mid-tier NVMe | Capacity over speed |
My insider tip after several builds: check the motherboard's supported CPU list on the manufacturer's site before buying, and note whether it needs a BIOS update to run your chip. Some boards ship with an older BIOS that won't recognize a newer CPU, and you can't update it without a working CPU installed. That's a dead end that costs you a return shipping fee and a week of waiting.
Assembling the PC step by step
Here's where the beginner pc building tutorial always gets vague, so let me be specific. Work on a hard, non-carpeted surface. Touch the bare metal of the case before handling any component to discharge static. And build the core outside the case first — it's far easier to seat a CPU when you're not reaching into a cramped box.
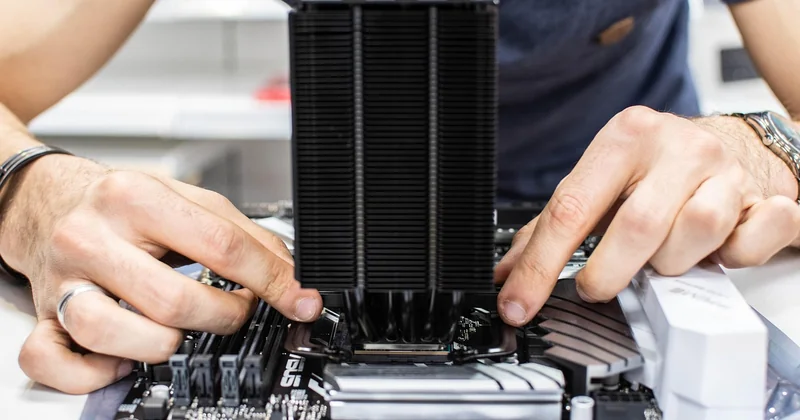
Pre-build: CPU, cooler, and RAM on the board
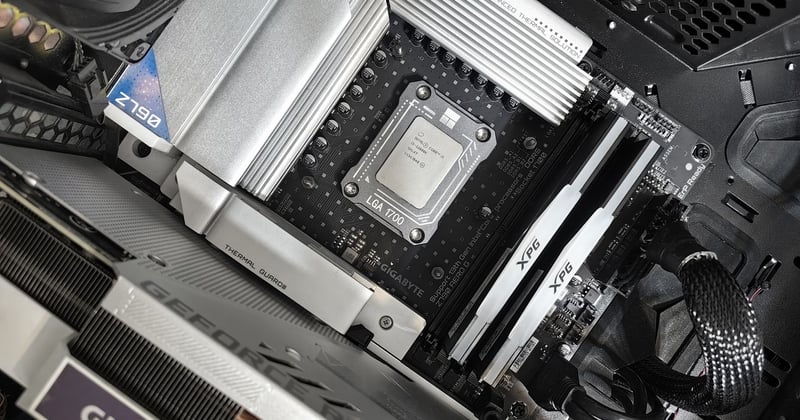
- Open the CPU socket latch and align the chip's corner triangle with the socket marking. It drops in with zero force — if it resists, stop and re-check the orientation.
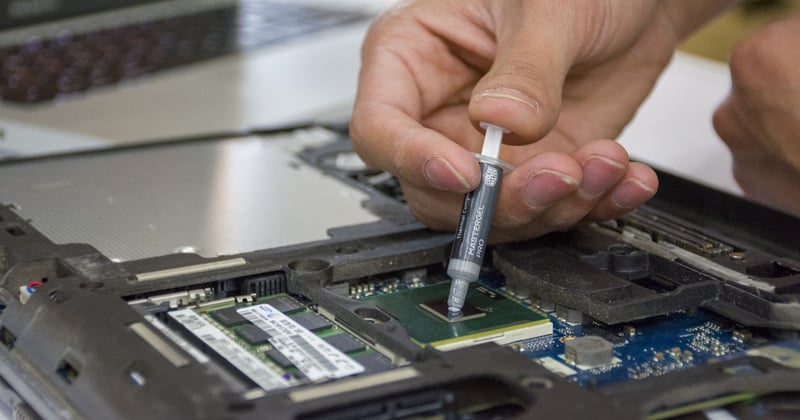
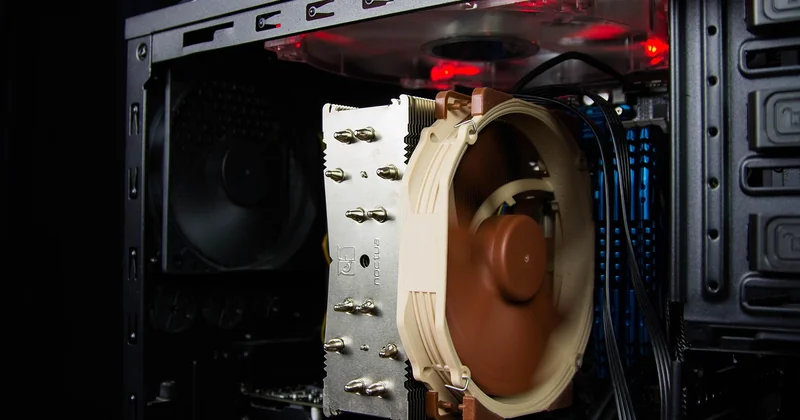
- Apply a pea-sized dot of thermal paste to the center of the CPU. Mount the cooler and tighten screws in a diagonal pattern, a little at a time, so the pressure stays even.
- Seat the RAM sticks until both clips click. Push firmly — new boards need more force than you expect.
Then install the I/O shield into the case before the motherboard. I forgot this on my first build and had to unscrew everything to fit it. Learn from my pain.
In-case assembly and cable routing
Install the standoffs in the case matching your board's screw holes — count them against the board before screwing anything down. A stray standoff under the board can short it. Mount the motherboard, then the GPU into the top PCIe slot until the latch clicks. Route power cables behind the motherboard tray where possible; it improves airflow and makes future upgrades easier.
The 24-pin motherboard cable and the 8-pin CPU cable are the two that fight back. Push until the clip engages. A half-seated 24-pin is one of the most common reasons a new build won't power on.
First boot and troubleshooting
Plug in the monitor cable to the GPU, not the motherboard — a classic first-boot mistake that leaves people staring at a black screen while the PC runs fine. Then press power and watch for the fans to spin and the BIOS screen to appear.

If nothing happens, check in this order: power supply switch on the back, the 24-pin and 8-pin cables fully seated, the front-panel power button header on the right pins, and the RAM fully clicked in. Most no-boot situations come down to one of those four.
Once it posts, go into BIOS and confirm the RAM is running at its rated speed — it often defaults lower until you enable the memory profile. Then install your OS and drivers.
Where to save now and upgrade later
A budget build is a starting point, not a final answer. The smart move is to buy a motherboard and power supply with a little headroom so you can upgrade the GPU or CPU later without rebuilding from scratch. A PSU with extra wattage and a board with a spare RAM slot cost a little more now and save you a full replacement later.
That's the real advantage of building it yourself: every part is replaceable, and you know exactly what's inside. If a component starts misbehaving down the line, you can test it directly — the same diagnostic mindset in this guide on testing failing RAM applies to any part in the box.
The build is the easy part
Honestly, assembling the hardware takes an afternoon. The decisions before you buy take longer, and they matter more. Get the GPU and PSU right, keep the parts list balanced, and the actual screwdriver work is almost relaxing. My advice: pick your GPU first, build the rest of the list around it, and don't let a cheap power supply undo the whole thing.
Your next step is concrete — open a retailer, filter by your target GPU, and build a parts list around it using the ratios above. Then check that motherboard's CPU support page before you click buy. Do that, and your first build will boot on the first try.
Frequently Asked Questions
How much should I spend on a budget gaming PC in 2026?
It depends on your target, but a realistic entry level gaming computer setup for 1080p sits in the low-to-mid hundreds of dollars range for the core components, before monitor and peripherals. The exact number moves with GPU prices, so set your budget around the card you want and scale the rest to fit.
Do I need a graphics card, or can I use integrated graphics?
For actual gaming, you want a dedicated GPU. Integrated graphics can run older or lighter titles, but a budget build's whole point is smooth 1080p play, and that needs a real card. Spend your money there first.
Is it cheaper to build or buy a prebuilt budget PC?
Usually building is cheaper for equivalent performance, and you get better components because you choose them. Prebuilts sometimes cut corners on the power supply and motherboard to hit a price. Building also means you know exactly how to upgrade it later.
What tools do I need to build a PC?
A single Phillips-head screwdriver, ideally magnetic. That's it. Most cases include the standoffs and screws you need. An anti-static wrist strap is nice but not essential if you ground yourself on the case first.
How long does a first build take?
Plan for two to three hours if it's your first time, including cable routing and the first boot. Experienced builders do it in under an hour, but there's no prize for speed — rushing is how I forgot the I/O shield.